


Add Subtitles to Kodi by Using OpenSubtitles.org: We all know that Kodi is one of the best and most popular online streaming application. Sometimes it may happen that our favorite video is not of up to the mark sound quality; here comes in play the concept of ‘Subtitles.’ Also sometimes we don’t understand the language of the video and want subtitles in our very own language. Well! this post hits the bull’s eye. Read more to get to know as to how to add subtitles to Kodi | Steps to Put Subtitles in Kodi by using OpenSubtitles.org.
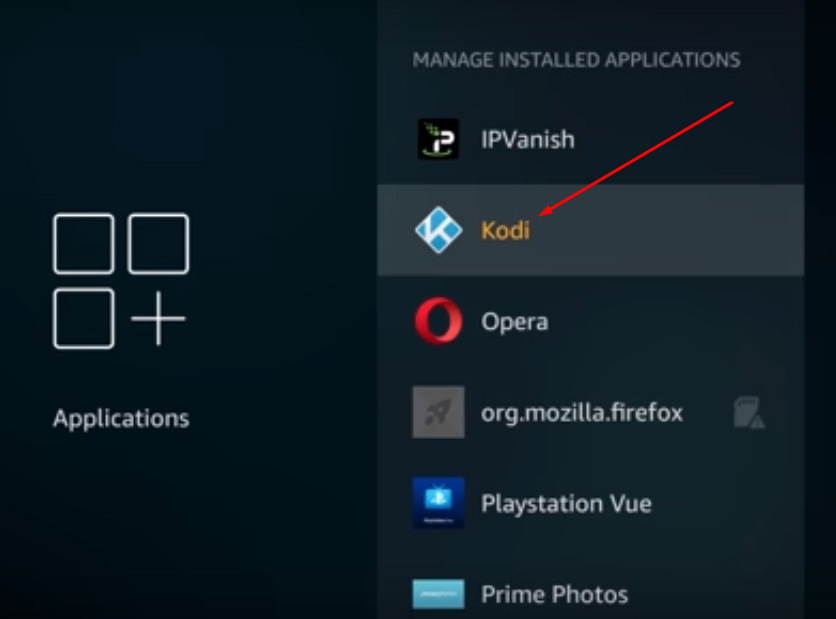
Install Kodi on Amazon Fire TV Stick with our post: 3 Ways to Install Kodi on Fire TV/Fire TV Stick. OpenSubtitles.org is a free Kodi add-on and provides the best services in providing subtitles to our favorite videos. One of its best features is that we can check out the ratings provided by other users to different subtitles file of the same video and download the best one to have a really enjoyable experience as ratings help us to quickly determine which subtitle file will be first-class for our video.
Now you can also Update Kodi on Fire TV/Fire TV Stick Without Computer. Let’s dig a bit more to know the main agenda of our peculiar guide on adding subtitles to Kodi with working steps and without any errors or hassles.
Contents
Subtitles to Kodi Addons, Install Kodi Add-On | Subtitles OpenSubtitles.org
Following are the steps to How to add subtitles to Kodi | Steps to Put Subtitles in Kodi by using OpenSubtitles.org. These few simple steps are verified by me and you can go ahead with any second thought. I used the same process on my Kodi krypton and previous Jarvis.
- Before using this Kodi Add-On you are required to create a free OpenSubtitles account by visiting the URL : [http://www.opensubtitles.org/newuser]
- Thereafter navigate to System -> Add-ons -> My Add-ons -> Subtitles and click on OpenSubtitles.org.
- Do press Update to get the latest version of OpenSubtitles.org.
- Enter your username and password after pressing Configure.
- For confirming and validating click on OK.
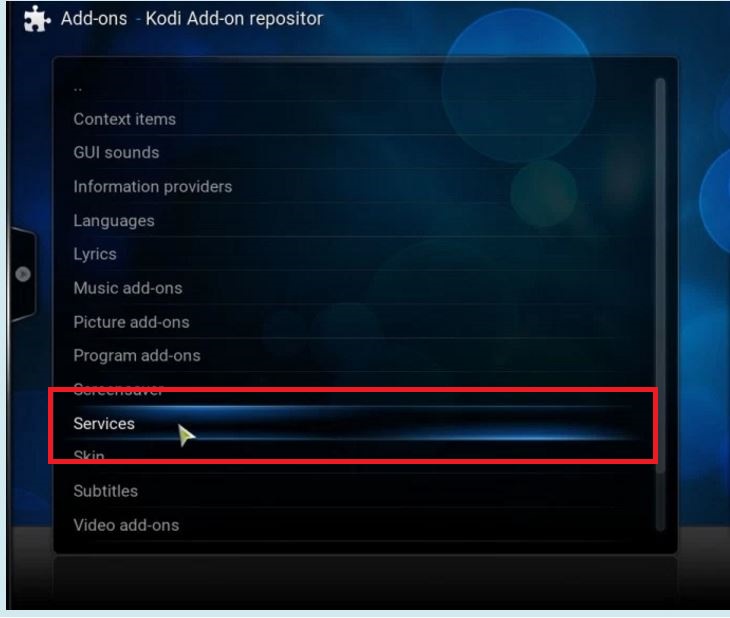
- For installing OpenSubtitles navigate to System -> Add-ons -> Install from Repository -> Kodi Add-on Repository -> Subtitles -> OpenSubtitles.org

Add Subtitles to Kodi - For getting subtitles automatically once we play a video we need to install AutoSubs. For that navigate one screen back to Services -> AutoSubs.
- For setting the language to navigate back to the home screen and thereafter go to System -> Video -> Subtitles (Kindly make sure that Settings level has been set to Standard or higher) -> Preferred Subtitles Language.
- Also in video settings set Default Movie Service & Default TV Show Service to OpenSubtitles.org.
Also, check:
Kodi on iPhone/iPad Without Jailbreak on Windows – Without XCode/Mac Computer.
Install Kodi Add-On OpenSubtitles.org & Enjoy Favorite Videos With Subtitles
So folks that were the procedure as to how to add subtitles to Kodi | Steps to Put Subtitles in Kodi by using OpenSubtitles.org.
Also, check the following interesting post which is recently updated by our admin in this modern 2017 year. You must have a look at this guide: Kodi Chromecast | 3 Ways to Stream Kodi to Chromecast from Android/PC.
In case you get any problem/issue during the entire procedure of adding subtitles to Kodi or have any question in mind feel free to comment below and we will be happy to help you by providing a solution to your problem on a priority basis.


Thanks for the wonderful post
This is really useful, thanks.
Thanks for the wonderful manual