

When it comes to Android Emulators for Windows & MAC systems, the first name that involuntary hits our neurons is BlueStacks. Undoubtedly, BlueStacks is a tremendous application in terms of levels of functionality, performance, and stability provided. With BlueStacks, you can run a majority of your Android apps on PC. However, at times you might need to work on a certain file, residing locally on your Windows PC, on BlueStacks. In this case, you require accessing local files from BlueStacks on Windows and we are going to cover methods for the same in this post.

Check out Working Ways to Use iMessage on Windows PC.
This need can arise any time. As an example, you might need to edit a picture that’s residing locally on your Windows PC, via BlueStacks. In this case, you need to access that image, present on your PC, from BlueStacks. There are various ways through which you can do the needful. For your convenience, we have discussed all of them below.
Contents
Access Local Files from BlueStacks on Windows
One of the most convenient method for doing the needful is using BlueStacks shared folder. Other less conventional methods are using drag and drop, cloud sync, or through Windows Registry. Continue reading ahead to get to know how each method works.
Utilizing BlueStacks Shared Folder, you can effortlessly share files between BlueStacks and Windows and vice versa. All you got to do is place the required file in the shared folder.
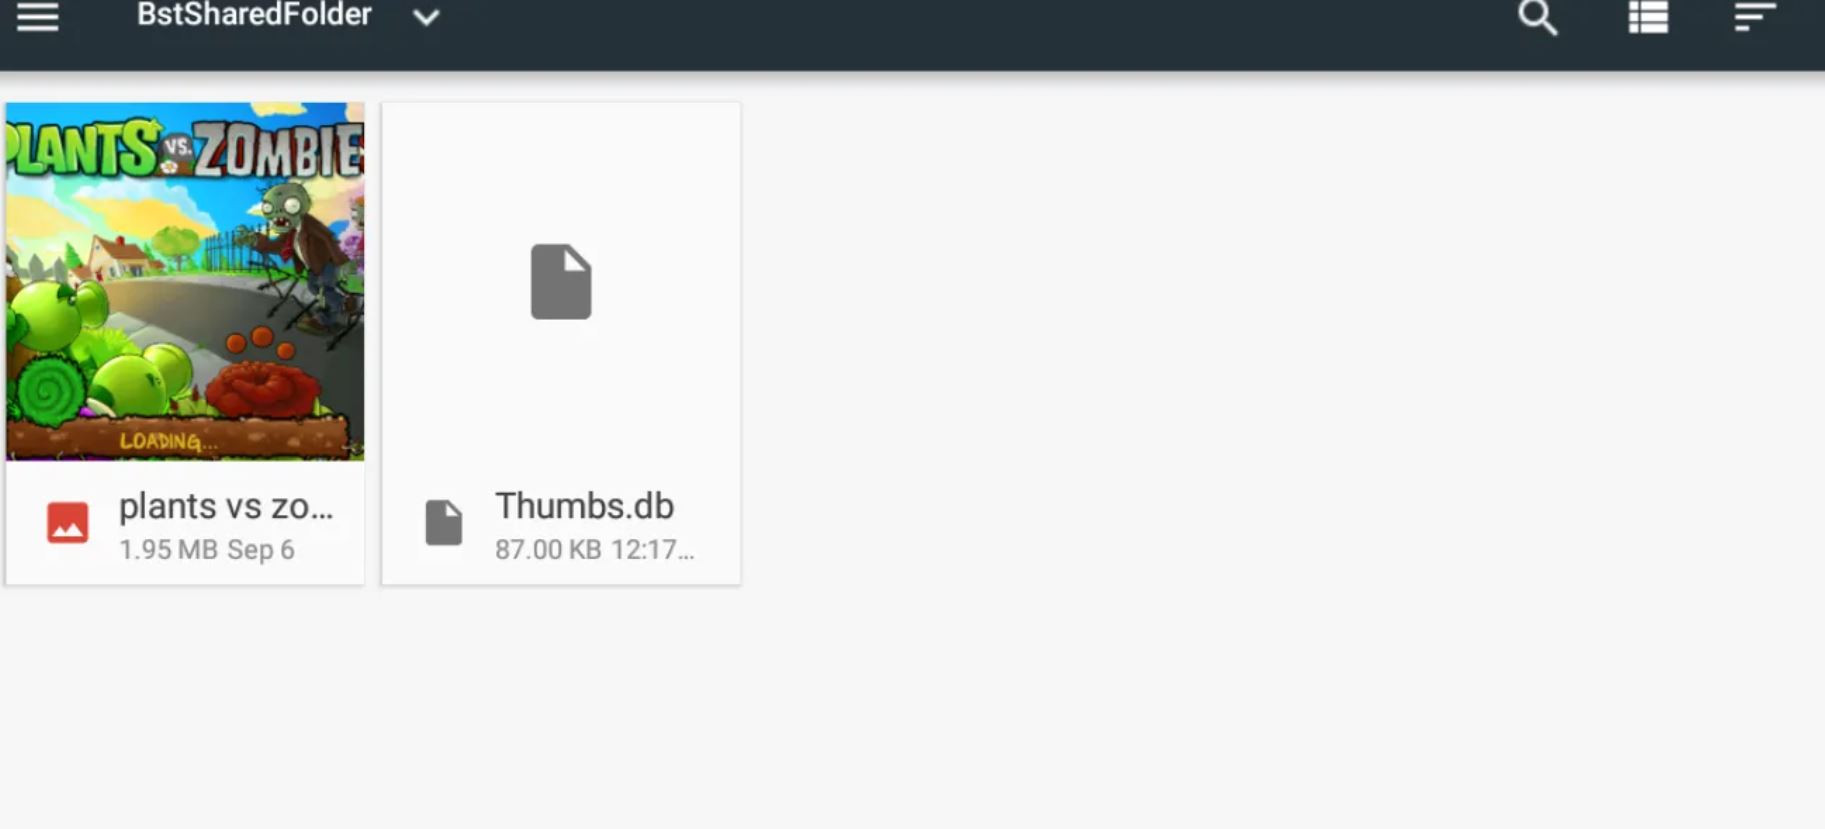
The shared folder in BlueStacks will be present at this path location Root/sdcard/bstfolder/BstSharedFolder. Here’s how you can access it.
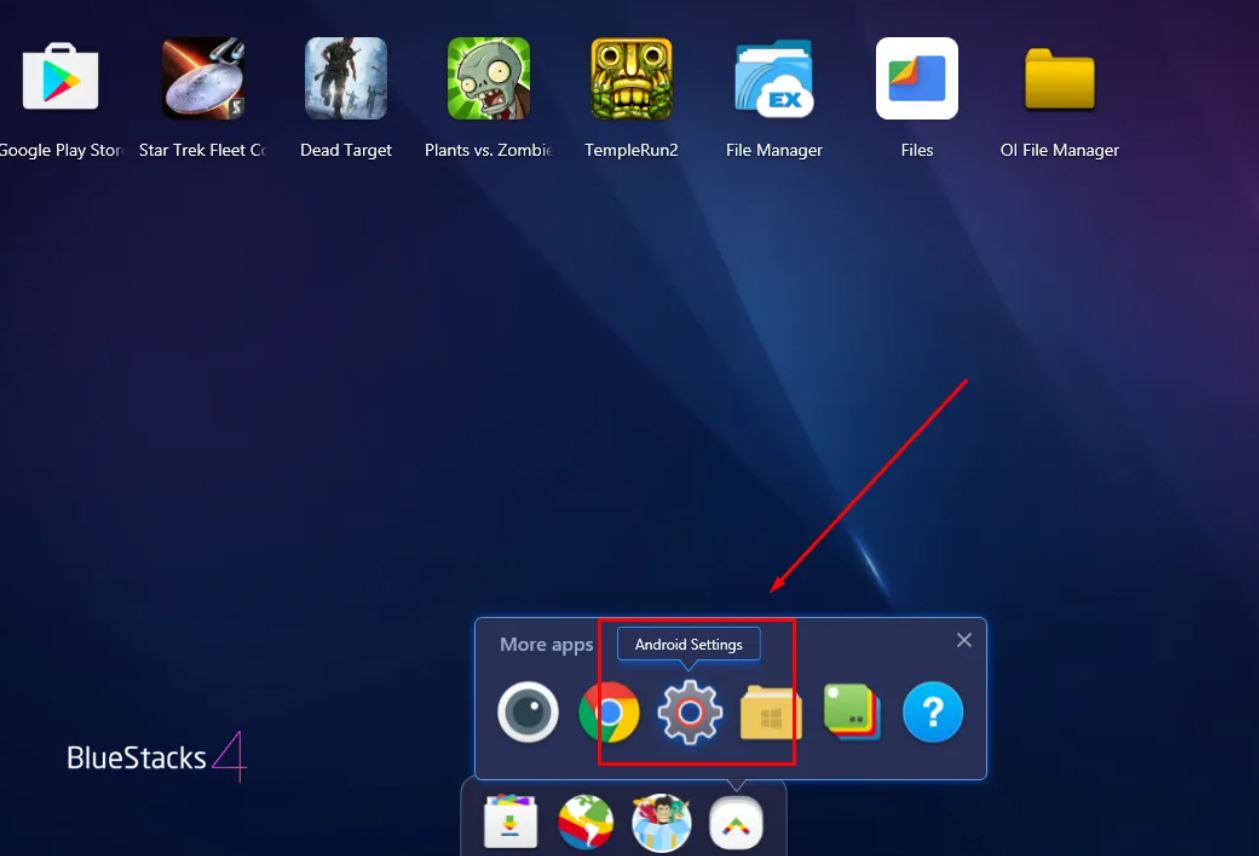
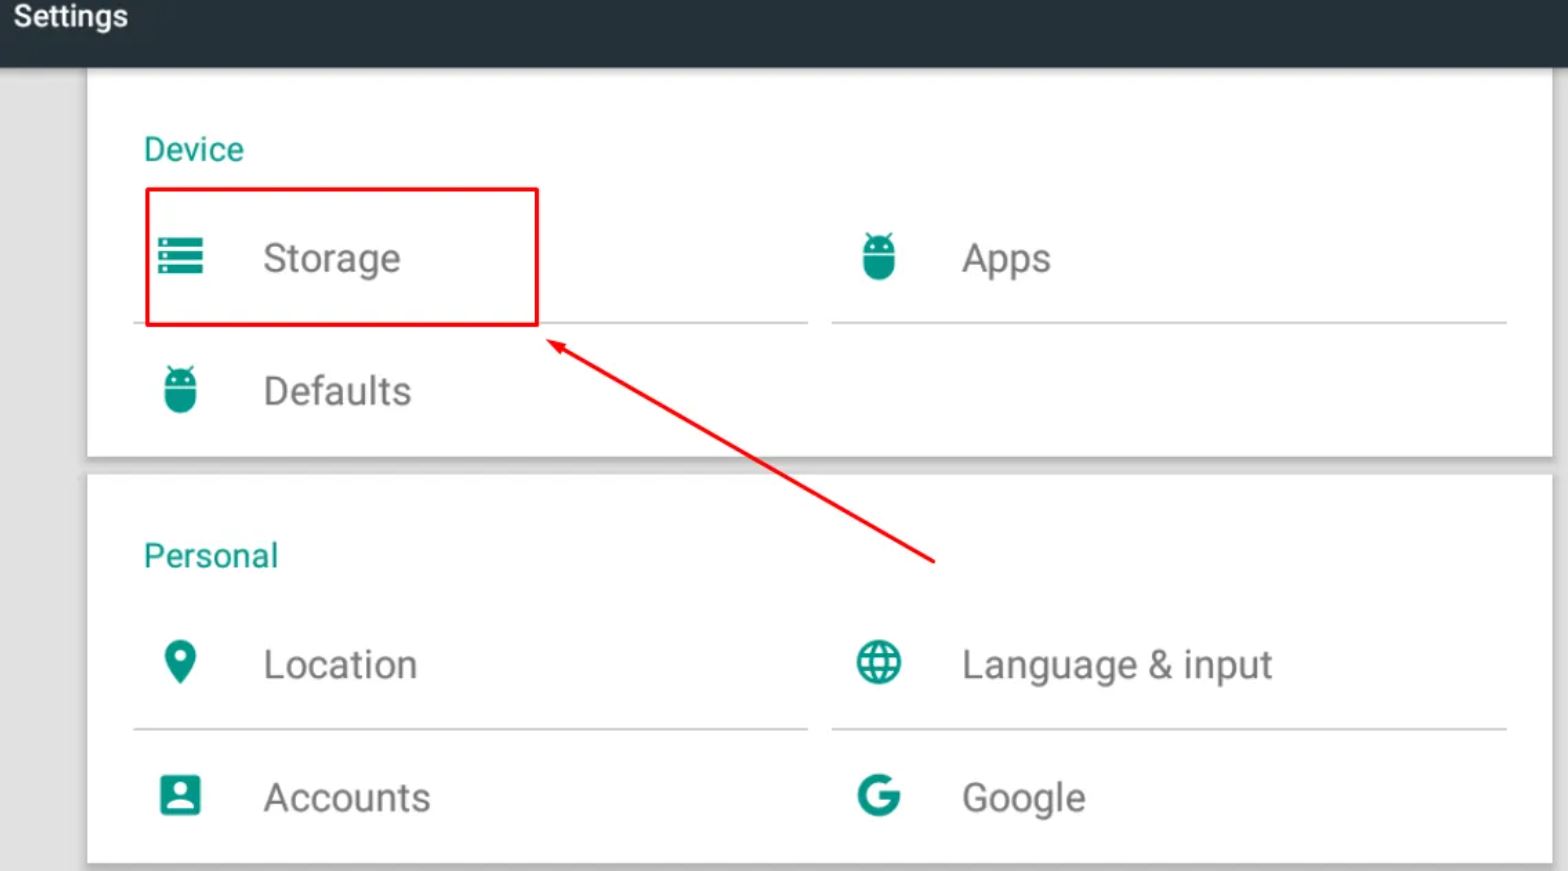
- Go to Android Settings on BlueStacks.
- Tap on Storage Settings.
- Tap on Explore.
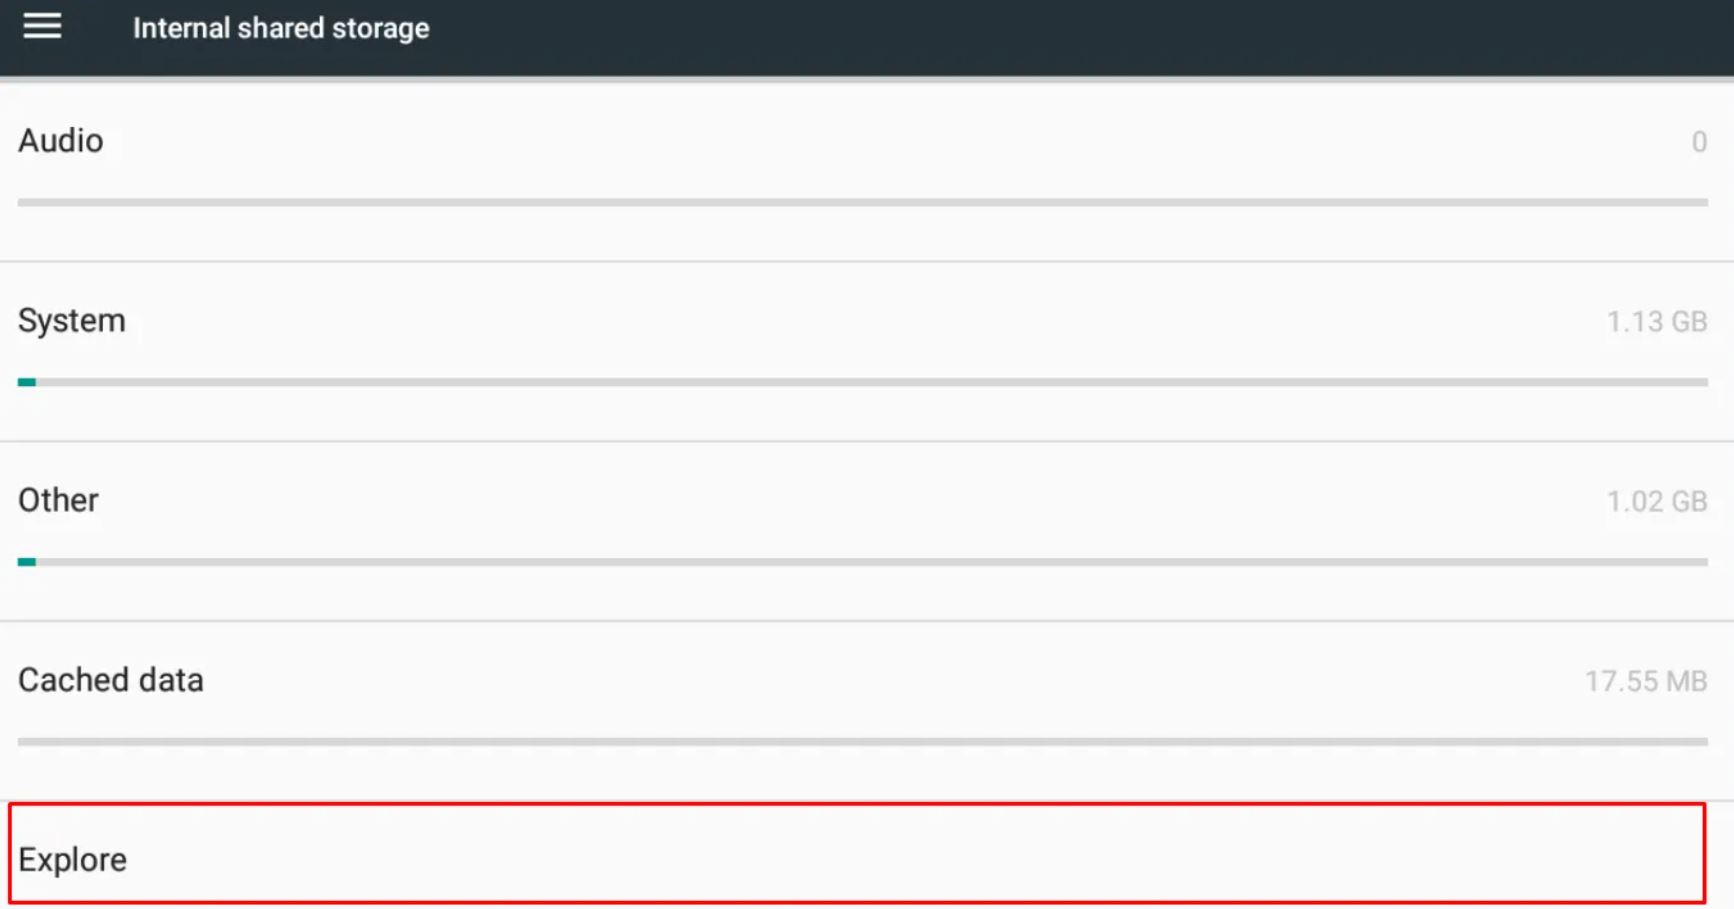
- Now, you will see a list of folders coming up.
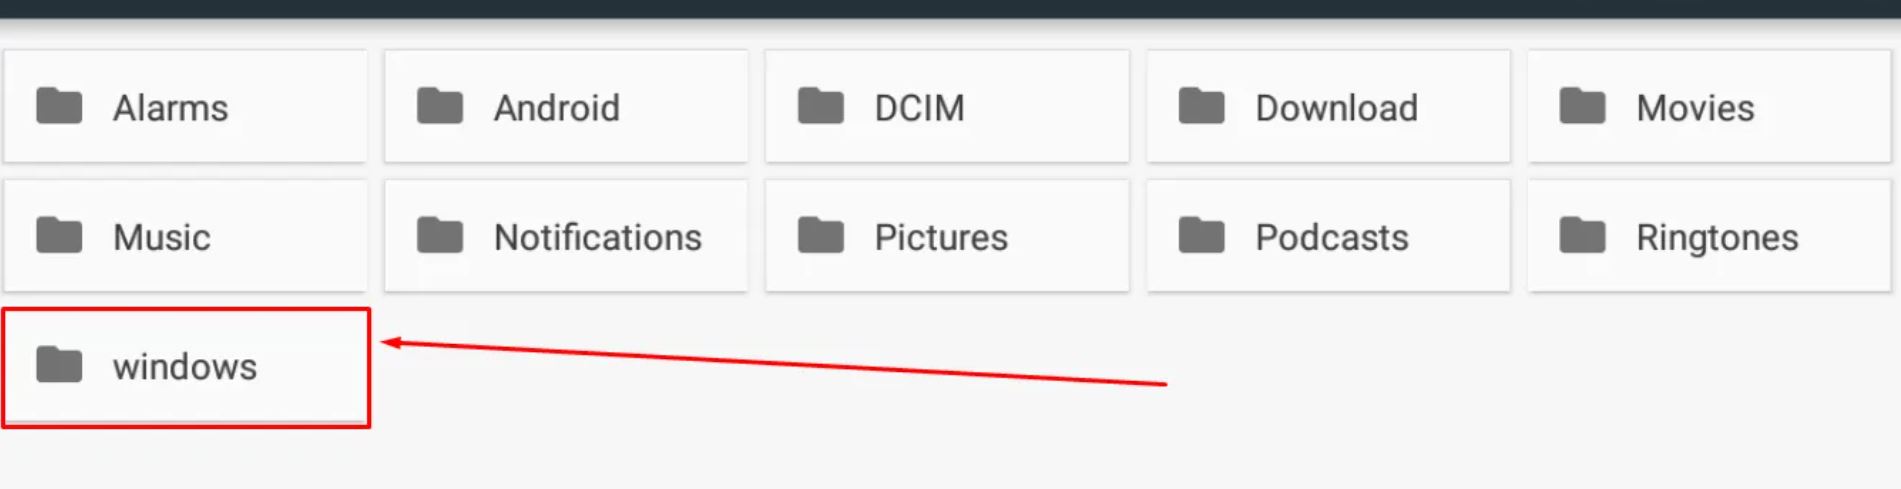
- Tap on Windows folder.
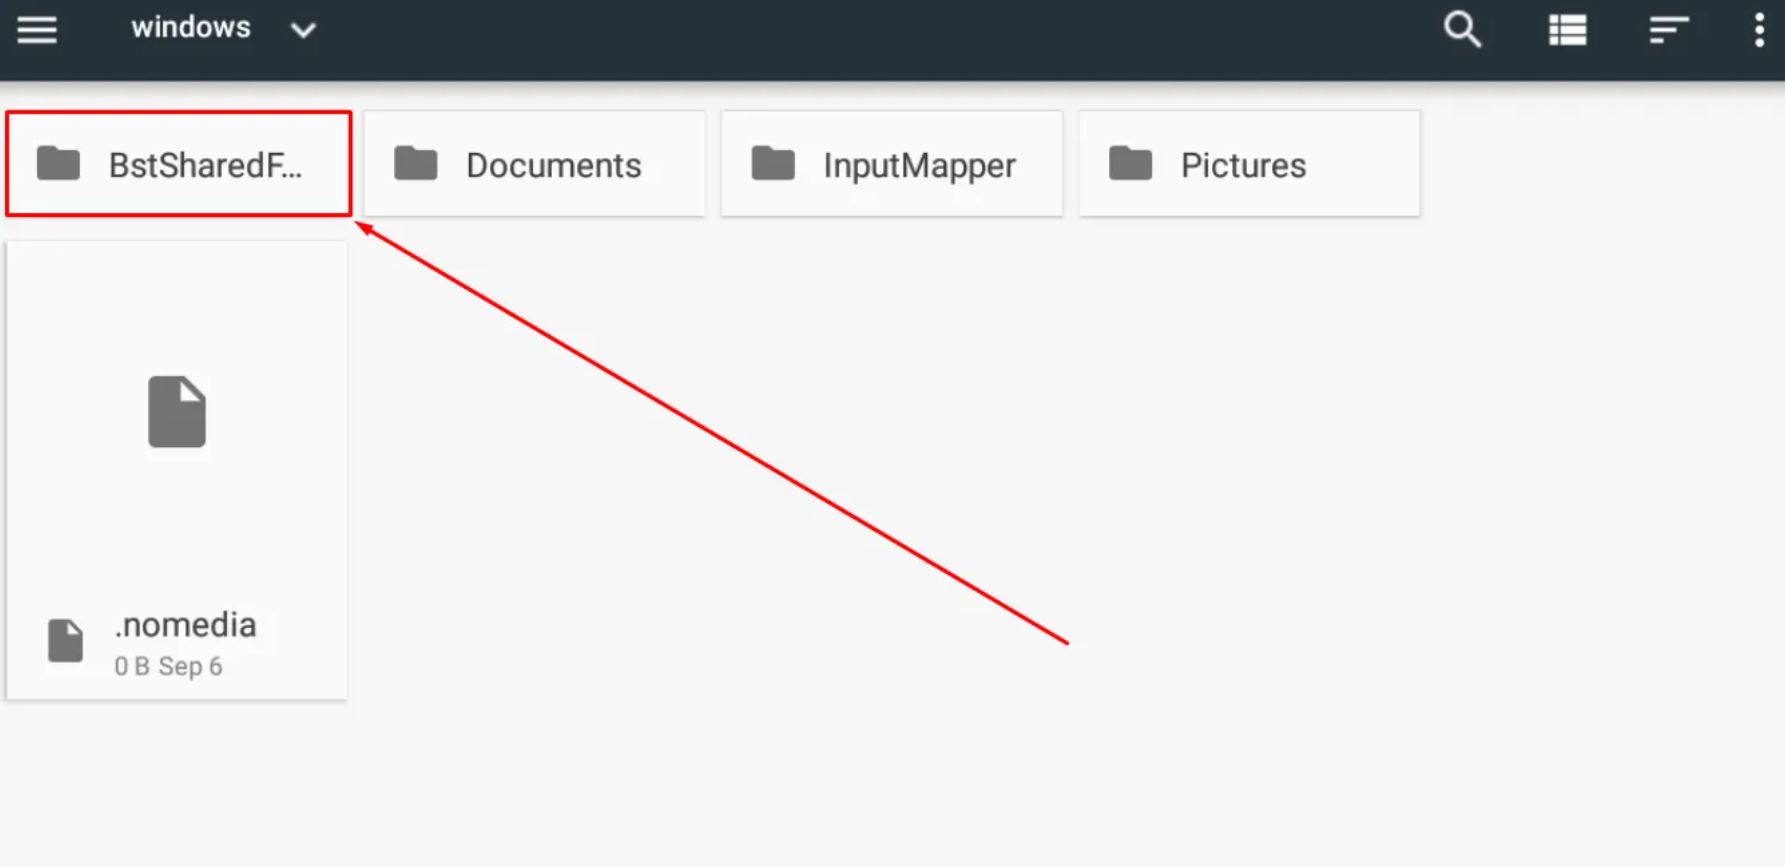
- Here, you will find BstSharedFolder.
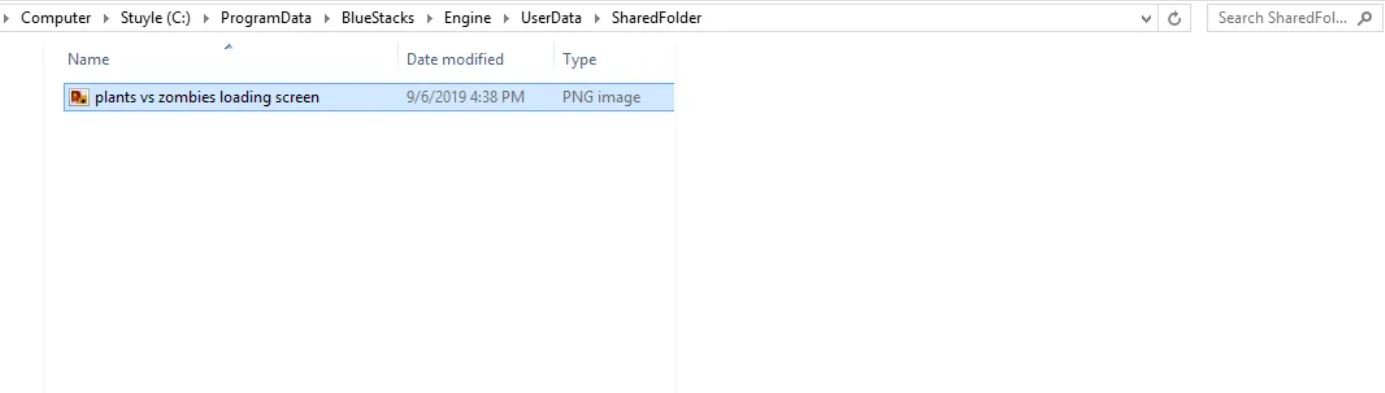
If you want to access any local file from BlueStacks, you need to drop the same at C:\ProgramData\BlueStacks\UserData\SharedFolder assuming C is the drive where Windows is installed on your PC. In some cases, the path can be C:\ProgramData\BlueStacks\Engine\UserData\SharedFolder Any file that you will drop in this shared folder on Windows can be accessed from the BstSharedFolder on BlueStacks.
Alternatively, the default Windows Library folders like Pictures and Music can be accessed from BlueStacks. You will find folders with the same name in BlueStacks in the list of folders that come up when you tap on Explore.
Watch Unlimited Movies: ZiniTevi Download on iOS(iPhone & iPad) – Working App.
If you don’t wish to go to Settings each time you have to access the BstSharedFolder, install any File Manager app via Play Store on BlueStacks. We recommend OI File Manager for the purpose; however, you can go ahead with any file manager app of your liking. Post successful installation, simply navigate to Root/sdcard/bstfolder/BstSharedFolder via the File Manager app to access BlueStacks Shared Folder.
I also suggest you to check out these 10 Best Downloader Apps for iOS(iPhone & iPad), which got huge demand in this latest year after people searching for the best downloader apps for their iOS device. You must check out this article if you are looking for the top notch downloaders for your iOS device.
Method 2: Drag and Drop
This method is an extension of the first method itself. This method tells us a convenient way to copy files from Windows into the BlueStacks Shared Folder. Please note that this will work only for Windows > BlueStacks and not vice versa.
- Run BlueStacks App Player and wait for it to initialize.
- Simply drag and drop the file that you want to copy into the BlueStacks Shared Folder onto the emulator’s interface.
- If an app is installed that works with the file you have dropped, the emulator will prompt you to open it via the app. Dismiss the prompt.
- Now, if you navigate to the BstSharedFolder on BlueStacks, you will find the file present there. Please note that no prompt showing any file transfer progress will come up.
- If you navigate now to the BlueStacks Shared Folder on your Windows PC, you will find the same file there as well.
Check out 15 Best iOS Emulators for Windows PC.
Method 3: Cloud Sync
Google Drive and Dropbox are not unfamiliar apps. In fact, they are the most utilized apps for sync data across various devices. Here’s how you can use them to access local files on BlueStacks.
- As a first, simply drop the files in Google Drive or Dropbox folder from your Windows PC.
- Next, make sure you have installed Google Drive or Dropbox apps on BlueStacks.
- Launch the app on your BlueStacks emulator and you can access the files that you have dropped from your Windows PC.
- Please note that under this method you can go for the reverse as well. Drop files onto the Google Drive or Dropbox apps from BlueStacks and thereafter you can access the same from your Windows PC.
Google Drive and Dropbox are not the sole apps on which this feature can be used. Any third-party storage app with cloud syncing capability can be used under this method.
Also, check out: Install .IPA Files using Windows – AltServer Patcher.
Method 4: Windows Registry
This method is for advanced users as you will be editing values in Windows Registry. Any incorrect modification in Windows Registry can cause your system to malfunction. Hence, proceed only if you have complete knowledge on what you are doing.
Step 1
As a first, please decide upon the directory that you wish to give access in BlueStacks. You can choose your complete hard drive as well here.
Step 2
Go to Windows Registry from Start > Run > type in ‘regedit‘ > hit Enter. The Registry Editor will open up.
Step 3
Go to HKEY_LOCAL_MACHINE\SOFTWARE\BlueStacks\Guests\Android\FileSystem. Here, you will see some numeric value keys beginning with 0. Do a right-click on FileSystem and select New > Key to create a new key. Make sure you rename it to the number that follows the previous key. Following is just a sample image showing how to create a new key.
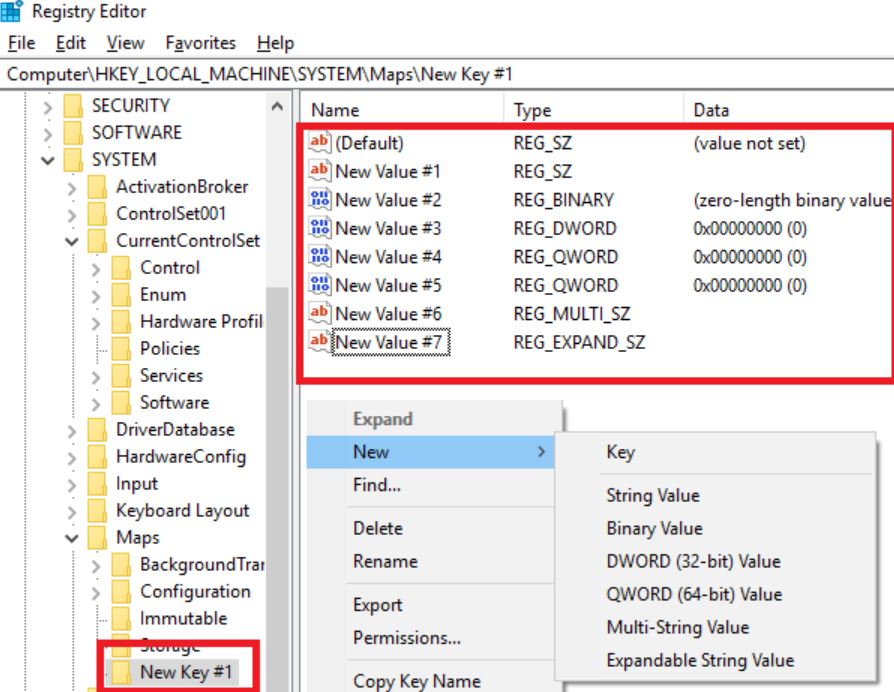
If you are using a new version of BlueStacks, you have to navigate to HKEY_LOCAL_MACHINE\SOFTWARE\BlueStacks\Guests\Android\ SharedFolder and create a key here.
Step 4
Enter into the new key that you have created. Do a right-click and choose New > String to create a new string called Name. Double-click on the string and enter a value. Here the value will be the name of the folder as you wish to see inside BlueStacks.
If you are using a new version of BlueStacks, you require creating an additional new DWORD value. For this simply do a right-click and select New > DWORD (32 Bit). Rename this to Writable. Again, do a right-click on this value and tap on Modify. Set the value data field as 1 and select base as Hexadecimal.
Step 5
Now you have to create another string called Path. As clear from the name of this string, you have to assign a value of the full path of the directory that you wish to see in BlueStacks. As an example if you have a Download folder in your D Drive that you wish to access from BlueStacks, you will give the Path value as D:/Download.
Step 6
Please reboot your PC for the changes to take effect. Using this method, you can include as many directories as you like in BlueStacks by simply creating new keys. Make sure you keep the keys sequential in number.
Access Files on Windows PC from BlueStacks & Vice Versa
These were the different methods through which you can access local files, present on your Windows PC, from BlueStacks and vice versa. If you are aware of any method to do the same other than the ones described in this post, make sure you share the same with our readers via the comments section provided below.
Check out the following posts as well:
- 5 Easy Ways to Download Torrents on iPhone No Jailbreak.
- AppValley Companion Download on Windows & MAC [NO REVOKES].
Thank You.